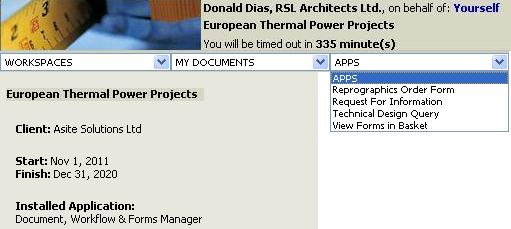
1. Select Forms followed by the required form type i.e. Request for Information
![]() Note: Workspaces use a variety of form
types
Note: Workspaces use a variety of form
types
2. Click on the ![]() icon on App
Listing page.
icon on App
Listing page.
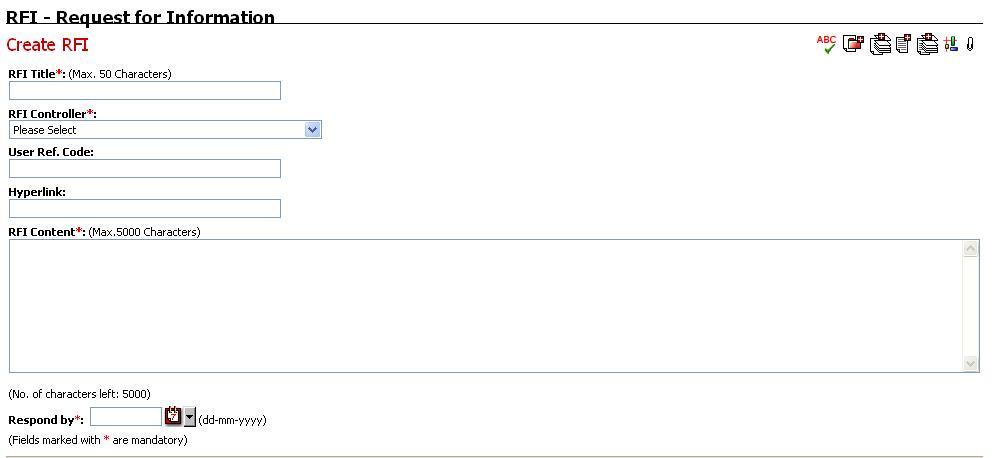
3. Enter RFI Title, User Reference Code & RFI Content in fields provided - see Protocols
![]() RFI Controller & Respond By date may
also be available depending on the type of Form chosen - Some Forms do
not require controllers
RFI Controller & Respond By date may
also be available depending on the type of Form chosen - Some Forms do
not require controllers
4. Click on ![]() to spell
check the contents entered in the form.
to spell
check the contents entered in the form.
![]() the contents will be spell checked only on clicking the spell check icon
if "On Request" option is selected in form settings
the contents will be spell checked only on clicking the spell check icon
if "On Request" option is selected in form settings
![]() the contents will be automatically spell checked if "On Saving Form"
option is selected in form settings
the contents will be automatically spell checked if "On Saving Form"
option is selected in form settings
5. Click on the ![]() icon
to select a Respond By Date
icon
to select a Respond By Date
![]() Where No controller is require you will
need to Distribute
Where No controller is require you will
need to Distribute
5. Click on ![]() icon
to distribute to others within the Workspace team (see Distribute).
icon
to distribute to others within the Workspace team (see Distribute).
![]() Visible only for Non-Controller Based forms. For Controller
Based forms, the Controller dropdown will be available for originator
to select Form Controller. A Distribute
action will be automatically distributed to Form Controller.
Visible only for Non-Controller Based forms. For Controller
Based forms, the Controller dropdown will be available for originator
to select Form Controller. A Distribute
action will be automatically distributed to Form Controller.
![]() It is mandatory to select at least one user in the distribution
list (for non-controller based forms) if the Form setting of "Allow
Distribution" is set to Mandatory
It is mandatory to select at least one user in the distribution
list (for non-controller based forms) if the Form setting of "Allow
Distribution" is set to Mandatory
![]() It is not visible if the Form setting of "Allow Distribution"
is set to Not Required
It is not visible if the Form setting of "Allow Distribution"
is set to Not Required
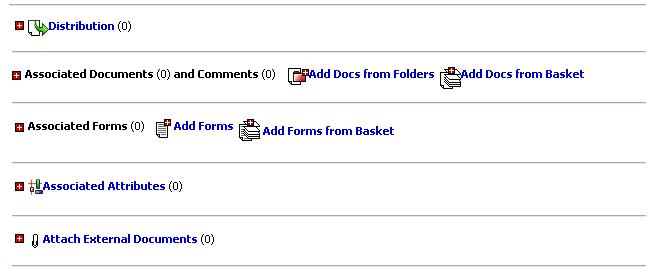
6. Option to complete associations are available based on Form Settings. (namely,
Associate Documents and Comments,
7. Click on Send to create form
![]() Select Display
Form Print View After Saving to display Form Print Preview on sending
the form. (Defaulted from User Preferences).
Select Display
Form Print View After Saving to display Form Print Preview on sending
the form. (Defaulted from User Preferences).
![]() RFI will be sent to Controller for Distribution
(depending on how the form has been set up)
RFI will be sent to Controller for Distribution
(depending on how the form has been set up)

8. Click on Save Draft to create draft form
![]() Select Display Form
Print View After Saving to display Form Print Preview on sending
the form. (Defaulted from User Preferences).
Select Display Form
Print View After Saving to display Form Print Preview on sending
the form. (Defaulted from User Preferences).
![]() Draft forms will numbered as DRAFT
will be displayed in the Form ID column.
Draft forms will numbered as DRAFT
will be displayed in the Form ID column.
![]() The Draft form will be actually numbered on actual submission
of the form with the form message creation date set to
the date on which the form was submitted.
The Draft form will be actually numbered on actual submission
of the form with the form message creation date set to
the date on which the form was submitted.
Examples of Forms that may be in use on Workspaces are:
Request for Information (RFI)
Technical Queries (TQs)
Change Request Form (CRF)
Early Warning Notices (EWN)
Instructions (INS)
Project Manager's Instructions (PMI)
9. All the forms now gets auto saved every specific duration. The process of Auto save happens until the form is created or even when edited, based on form settings. If the information to be entered in the forms takes longer, the form gets auto saved again so that the data is not lost. The Create/Update button on the Auto Saved Draft form, shows a tool tip informing the user about last auto save time.

Note:
In case of Custom Forms the fields will be displayed as defined in ORI_View in the Form Design. Refer About Custom Forms for more details.
The facility to create Draft comments will not be available for "Combined Response" type Custom Forms.
FAQs
Q: I do not select any users for distribution but still there are some users appearing in the distribution list in the distribution history
A: The Custom Form Template must have been designed to automatically distribute actions.
Q: I have selected users in the Custom Form to be distributed action but the users are not automatically distributed any actions
A: You must not have defined the mandatory settings i.e. Default Action & Action Due Date in the form design.
Q: I have selected a Distribution Group in the Custom Form for the users in it to be distributed actions but the users are not automatically distributed any actions
A: You must not have defined the mandatory settings i.e. the default action in the Form Settings.
Q: I have selected users in the Custom Form to be distributed action but the users are not automatically distributed any actions. I have checked my Form Design and all mandatory settings are also defined.
A: You must not have mentioned the due date and/or the Action that needs to be distributed. You must set them as mandatory in the form Design itself to avoid this problem.
Q: I do not get mandatory validation prompt while saving some of the forms as Draft.
A: Users can now save draft versions of Forms built using AppBuilder without having to complete all mandatory fields. Mandatory validation prompt will be displayed for standard forms while saving the same as Draft.
Useful Links: