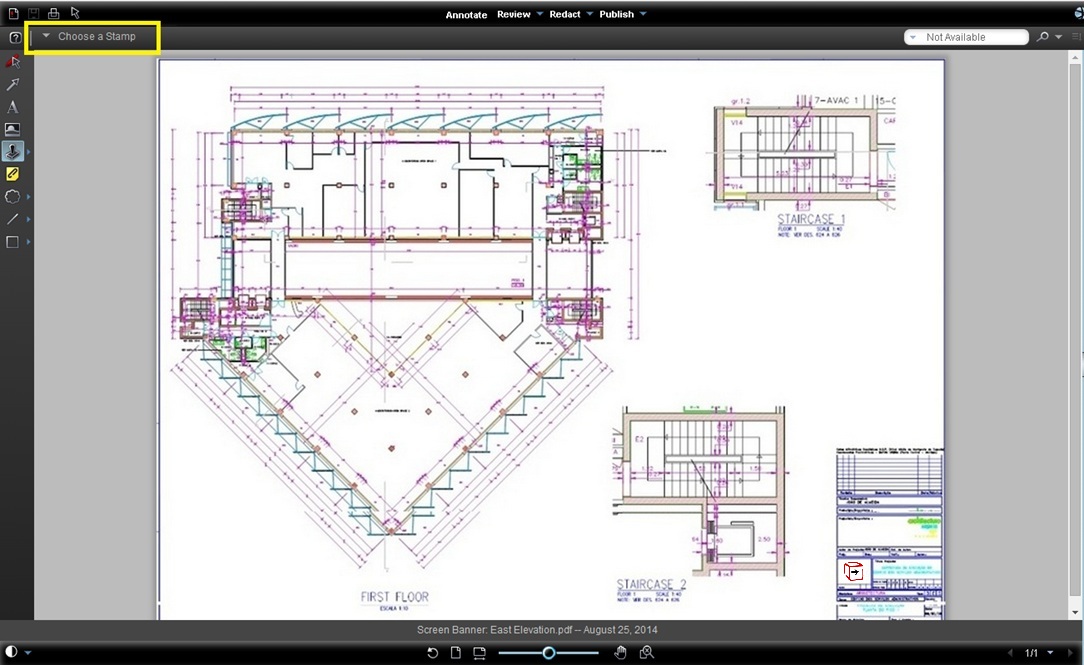
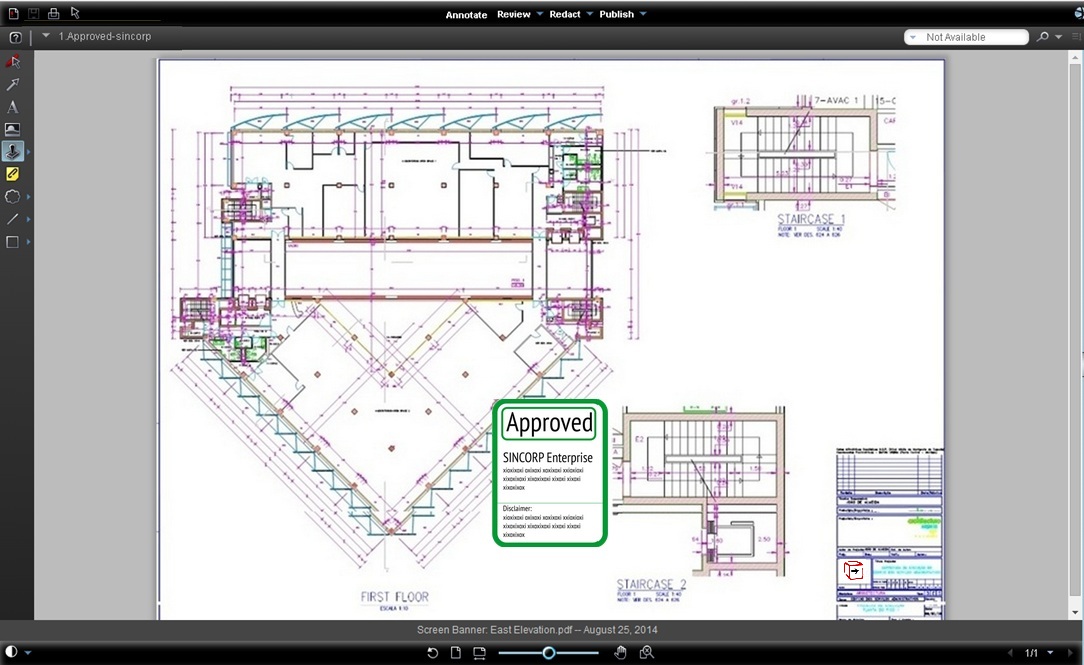
A Stamp is a single or group of markup entities, defined by an author as a "stamp". Asite allows you to add stamp on your drawings which contains specific informations.
Stamps create only by Asite and save to the client database server to use. To create stamp please contact Asite support at support@asite.com.
To add a Markup Stamp:
If the workspace is configured to use Universal Web Viewer, the file will open in Universal Web Viewer - Adoddle View as a separate popup. Click here for detailed help.
1. While a markup layer
is open for edit, click the Add Stamp button on the Markup Toolbar.
2. Click the Choose a Stamp
arrow  .
When clicked, all available stamp images appear in the dialog that can
be selected and added to the current markup layer.

3. Let us select one stamp to add on your drawing. Select a stamp and click on Close to close window.
4. To place the active stamp at its default size, left click on the view window. The location you click is the center point of the stamp. To insert the stamp at a customized size, left-click an area of the current window and, while holding down the mouse button, drag a box to position and size the stamp entity. Release the mouse button to set the entity.

5. You can use the re-size or rotate handles to change the shape and position of the stamp.
6. Once a stamp is added to a markup layer, the stamp name can be selected from the Recently Used Stamps list of the Select Stamp Template dialog. The active stamp is drawn when you click and drag on the viewing window. Stamps can be created on any page of a multi-page document and can be copied and pasted to any page.
7. Add any additional markup
entities (including stamps) you desire and click ![]() to save
your markup. The stamp entities are saved with the markup layer just as
any other entity. Once
you save markup, a latest comment creates on your document.
to save
your markup. The stamp entities are saved with the markup layer just as
any other entity. Once
you save markup, a latest comment creates on your document.
Useful Links: